Mid-July ...
Following the last post, after spending a lot of time laying out the gauges & switches etc, I started work on the dash ... getting it covering with thin foam padding and black vinyl. I chose a "competition" style dash which puts the speedometer in the center of the dash... so it can easily be seen by the passenger (!) ... and the tach, water temp and oil pressure gauge right in front of the driver and the other gauges (oil temp, fuel level and voltimeter) above the speedo.
Here's a few pictures of the dash covering process ...
 |
| The padding and vinyl are glued on using contact cement and LOTS of clamps until the glue sets |
 |
| After everything is glued up, holes are carefully cut for the gauges and switches etc |
 |
| In order to allow sufficient "excess" covering to wrap around to the back of the dash, I used a large washer as a guide to drawing the cut-here line (put a pen in the center of the washer and "rolled" it around the edge of the hole) |
 |
| Here's what the "excess" covering looks like around the glove box opening after it's trimmed and glued in place. Wrapping around the back side gives a nice finished look to the front edges. The top of the dash is not yet done in this picture ... |
 |
| Here's a quick view of the dash with the gauges in place. The top of the dash is not yet fully trimmed and wrapped ... |
 | ||
| And a 'back-of-the-dash' look at the gauges and the beginnings of all the dash wiring .... I did a lot of labeling using my label maker to help keep things organized. |
 |
| Mounting the fan on the shroud ... which will be mounted to the back of the radiator ... will help force (pull) air through the radiator rather than letting air flow around the radiator. |
August ....
We spent the last part of July and 1st couple weeks of August at the family summer home in Fish Haven (Idaho), and so not much work got done.
After we got home from Fish Haven, Jared and Jen came to visit and among other things, we undercoated the inside (bottom) of the body using one of the truck bed liner products. This will help minimize rock strike damage that might cause a visible"star/crack" on the finished paint ... which would be a very bad thing!
Here's a few pictures of how the undercoating was done ...
 |
| We took the body outside and turned it upside down on a tarp covered pallet ... |
 |
| Scrubbed it good with soapy water and rinsed ... a couple of times. If any fiberglass mold release residue isn't removed, the undercoating might not adhere properly. |
 | |
| We turned the body back rightside up ... |
 |
| Let it dry ... |
 |
| Then brought it back inside the shop and masked it to help keep the undercoating from getting on the "top" of the body that'll eventually be painted. |
 |
| Jen decided to "autograph" the body with undercoat ... |
 |
| And Jared painted over it when doing the next couple of coats. (Sorry Jen - but we all know your name is there even if no one else can see it!) |
Big news after Labor Day was ... the engine was done!! Wayne at SKJ Customs did a great job building my engine, using all the parts I'd bought earlier ... Edelbrock aluminum heads, cam, MDS ignition and MDS's new Atomic EFI, Cobra valve covers, billet pulleys and etc. Completely rebuilt (bored 0.030 over making it 306 cubic inches) with all new bearings, hot tanked and cleaned, painted and ready to go. Should be about 350 horsepower - plenty for a 2,200# car and a 60-something driver!
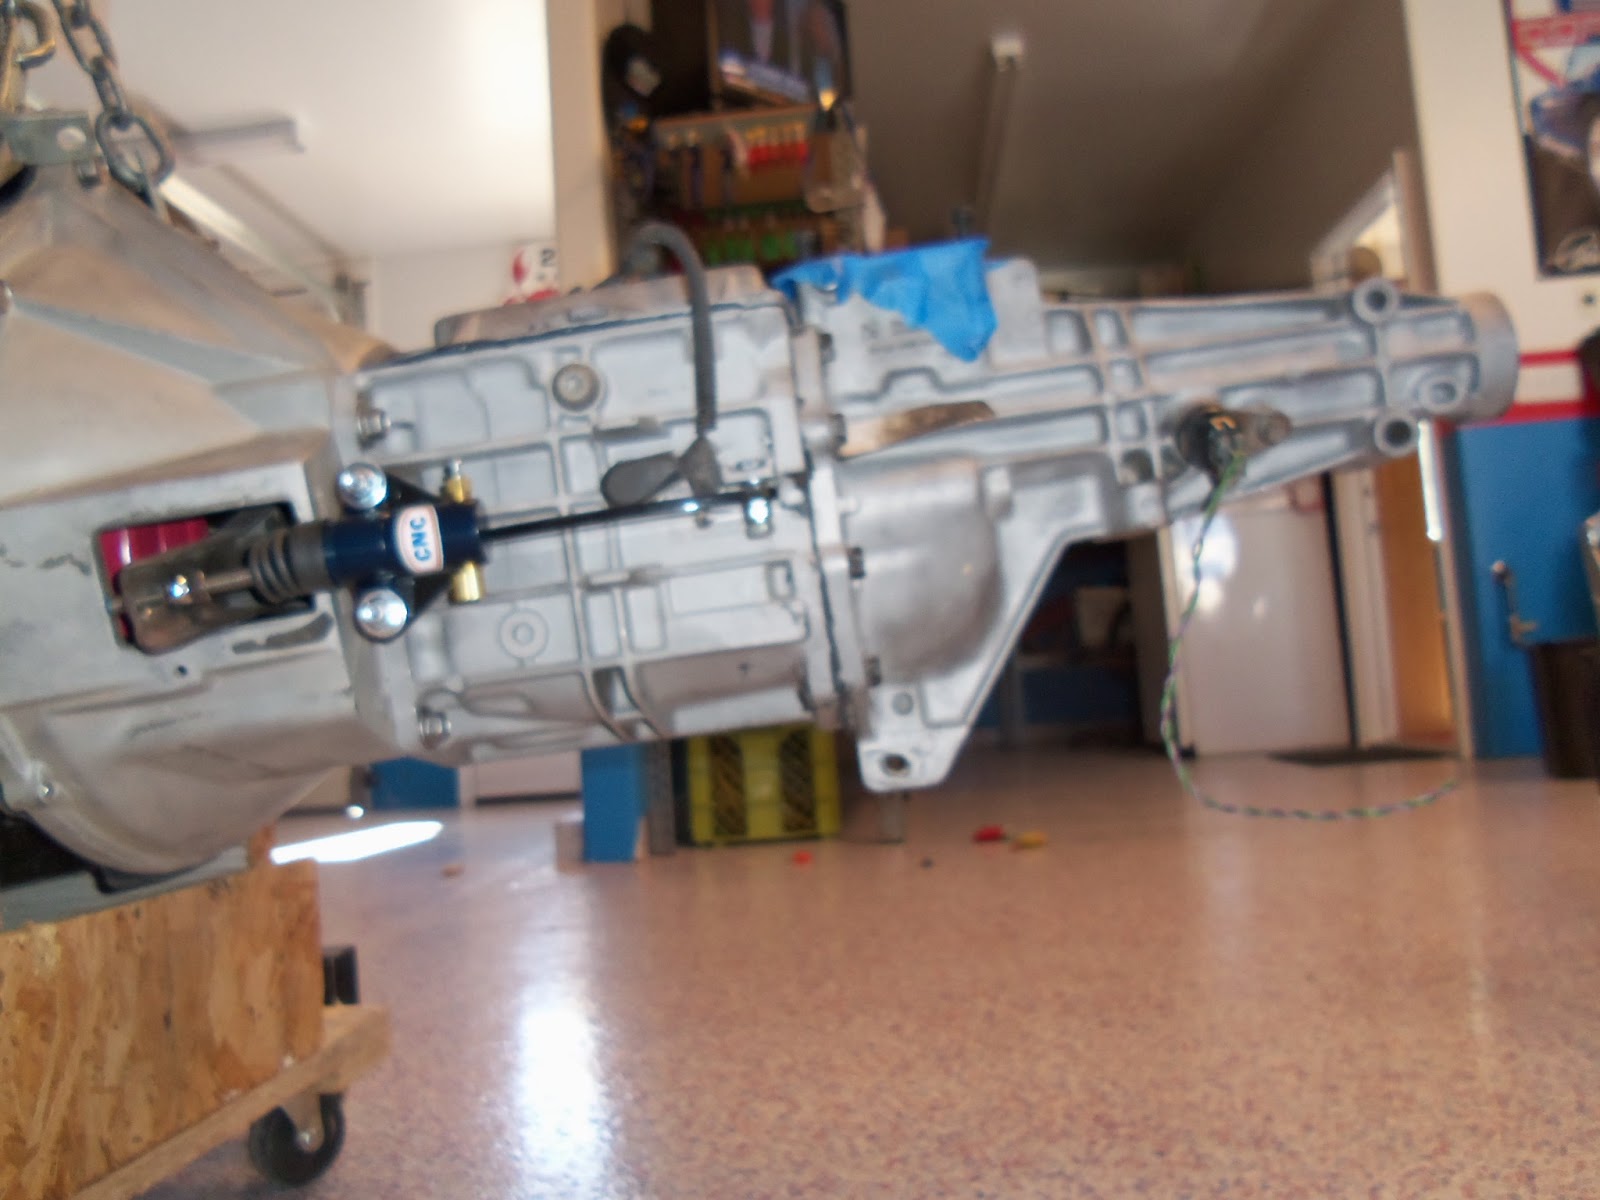
Wayne also did the S-10 "mid-shift" tail housing conversion on the T-5 trans. This moves the shift lever forward about 8 inches and should let my hand fall naturally onto the shift lever when the car is done.
The engine came home and waited for a while until Jared could get up here again to help with the installation.
 |
| Engine as it came off the trailer and into the shop |
 |
| Waiting to be installed |
 |
| The slave cylinder for the hydraulic clutch and it's mounting bracket were installed while the engine was still out of the car. |
 |
| In the interim, I worked on the e-brake installation, installed the e-brake cables. This is the passenger side cable. |
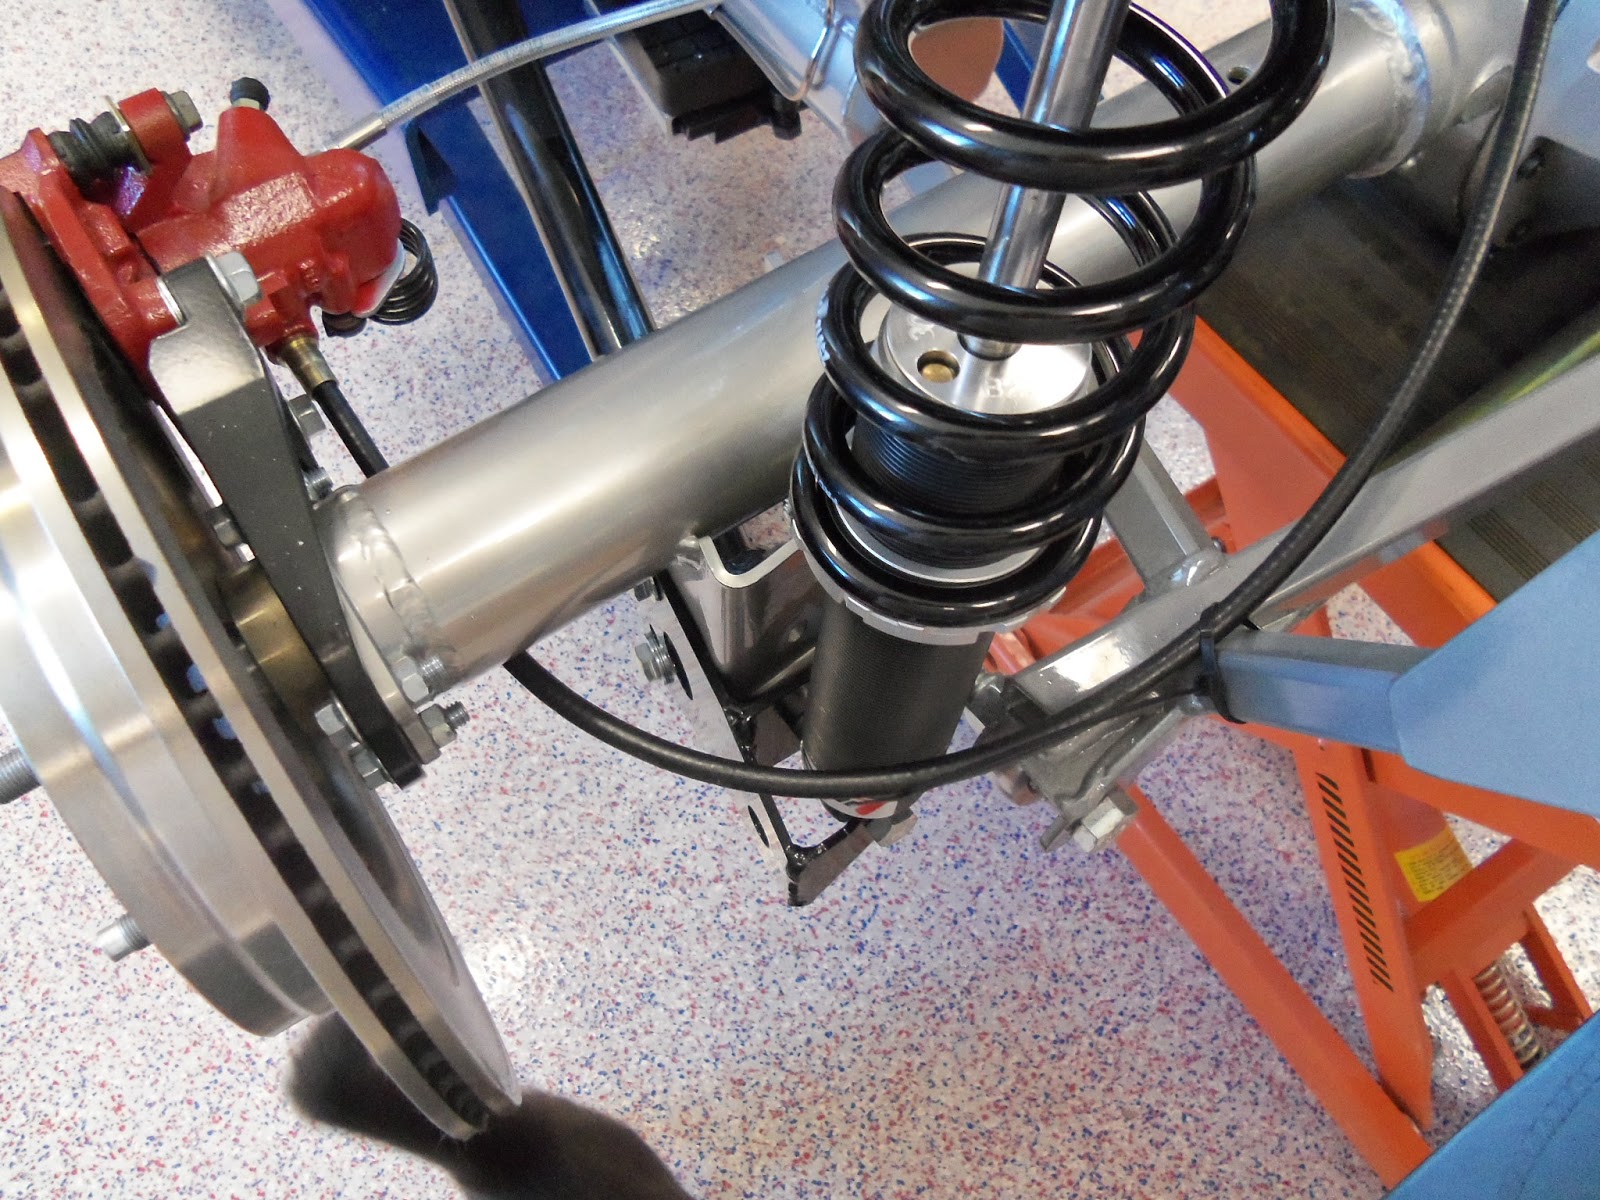 |
| And here's the driver side e-brake cable. Not shown in this picture is a s mall clamp I used to attach the cable to the rear axle so the cable can run in front of the rear shock. |
.jpg) | ||
| Here's a "looking down" at the custom e-brake mounting in the tunnel using a series of pulleys for the cable, which should give a smoother action to the e-brake mechanism and better/easier adjustment. |
I used the time while waiting for engine installation to finish up the front suspension - mostly getting the upper and lower ball joints properly torqued - and ran into a surprise! The PS lower ball joint had "dry-rotted"!
I talked to Factory Five and they'd apparently received a bad shipment of ball joint boots and promptly sent me a replacement!
 |
| Here's a picture of the dry-rotted PS boot - completely dry-rotted into 2 pieces and un-useable! |
 |
| Replacement boot being installed |
Torquing the upper and lower ball joints
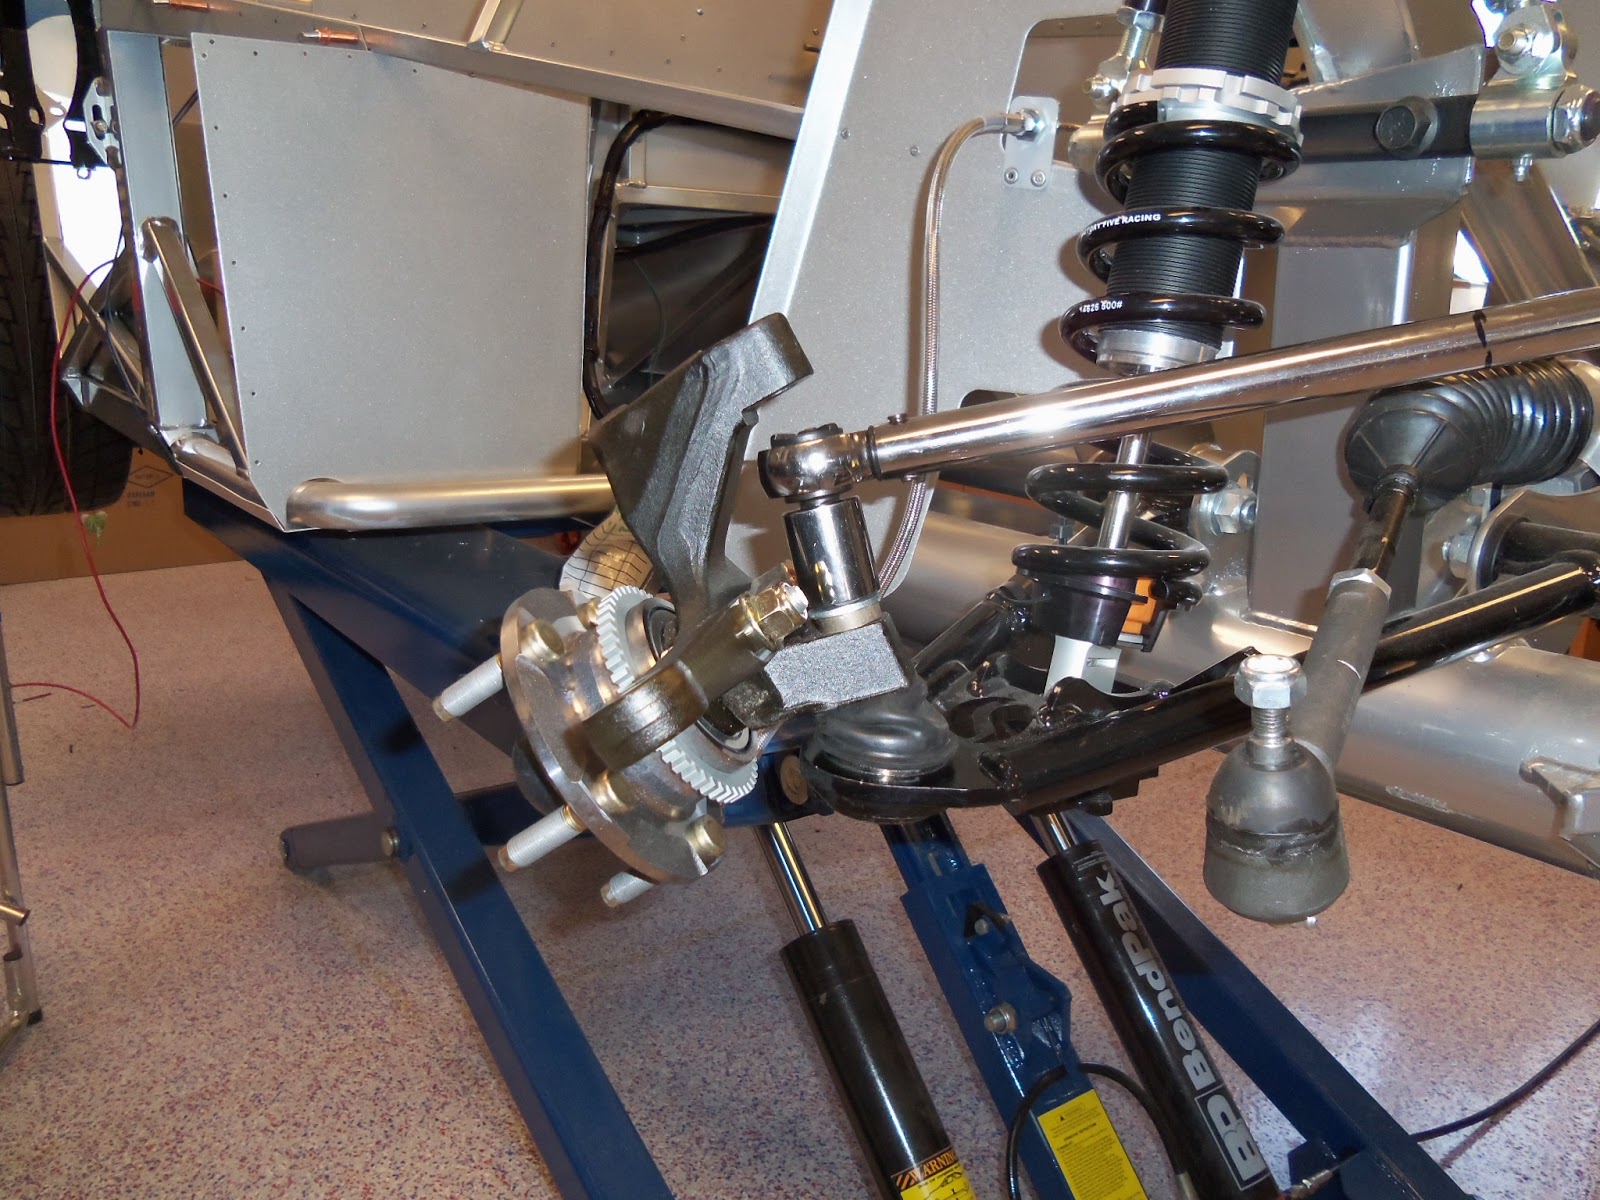 |
| Torquing the lower ball joint. I'd earlier tried to do it with the spindle attached to the upper a-arm as well as the lower, and it was essentially impossible to get a torque wrench onto the nut. With the spindle having been removed to replace the boot, I was able to get a wrench onto the lower ball joint nut and complete the proper installation. |
 |
| And torquing the upper ball joint to the correct torque specs. Note the use of a "wobble" extension to properly get to the ball joint nut. |
Engine installation ... finally!
Jared and Jen came up in October and we installed the engine. Took a couple of hours and we carefully draped the engine bay of the car so as to not scratch the powdercoated chassis.
 |
| The front of the car is on it's tires, the rear is on jack stands so the car is resting at a "nose down" angle to give more of a straight shot into the engine bay, and the engine bay is wrapped with blankets etc to minimize scratching. |
 |
| Carefully guiding the engine into place ... |
 |
| And installing nuts on the engine mounts. Easy-pesy! |
Then we noticed a problem with the engine alignment. It wasn't centered in the car!
 |
| The engine appears to be off-set to the passenger side ... (!) |
 |
| The rear of the transmissionseems to be aimed slightly toward the drivers rear corner of the car. |
 |
| Meaning the very short drive shaft will NOT properly attach to the input flange of the rear axle! |
So - we looked more closely, and later Wayne from SKJ stopped by to take a look at it. Wayne noticed that the driver side engine mount was NOT in the correct holes of the chassis mount.
 | ||
| The bolt (stud) coming through the rear most hole in the chassis mount should be in the front slot where the little locating "bump" is in this picture, and the "bump" should be in the hole below the slot. |
 | ||||||
| After taking both mounts off the engine and looking at them closely side-by-side, it turns out I received TWO (2) identical passenger side mounts instead of one PS and one DS! |
What else has been going on recently ...
After years of being interested in it, I was finally able to purchase a 1953 Ford F100 pickup from my cousin. It has been sitting in his dad's (my uncle's) shop since about 1993, and is in GREAT condition for it's age.
Jared and I went to Fish Haven to pick it up, and it's now outside the shop here in St George - patiently waiting it's turn. Future plans for it are still very much up in the air, but it'll likely become a non-restored (it's only original once so I'll keep the "patina") daily driver.
 |
| Buried inside the shop for almost 20 years and 1st seen by me almost 10 years ago. |
 |
| Extracted from the shop and on the trailer |
 |
| On the trailer in Garden City and ready to head home - as soon as Jared & I get a couple of famous Bear Lake raspberry shakes! |
 |
| Waiting patiently for it's turn inside the shop ... after the Cobra is done! |
And I went to SEMA in November. Annual "orgy" of car stuff for car guys! Four days of too much too see. Cars, parts, equipment, tools, wheels & tires, and people. Here's a couple pictures ...
 |
| From a customized Cadillac limo... |
 |
| ... to a VW Karmen Ghia ... |
 |
| ... to a new Jeep. |
 | |
| The SKJ guys took a couple of their newer Cobra builds to SEMA again. Here's the two most recent during final assembly ... |
 |
| The gray w/blue striped car has an LS3 Chevrolet motor ... instead of the traditional Ford powerplant. With the much lighter engine - it'll be almost unbeatable! |
 |
| And a more traditional Ford engined Cobra from SKJ Customs (a Windsor block 427) |
.JPG) | ||
| Last but not least, here's Jared and I with Austin Wheeler, one of the drivers on last season's "Ice Road Truckers" on the History Channel. It's a favorite show for Carol & I! |
More on the wiring etc next time ... and sooner than my last update!


